Every business and organization requires a mobile application nowadays, and Flutter has become an emerging and great option for cross-platform mobile application development. Flutter is a UI toolkit and framework that allows developers to build cross-platform mobile apps using a single codebase or programming language.
Flutter is developed at Google but is open to all external contributors like open-source projects. Flutter is based on the Dart language, which is easy to learn and understand. Flutter can be used to build mobile, web or desktop applications.
But where to start? This article will cover a step-by-step guide from installing and setting up a Flutter development environment to developing your first Flutter mobile app from scratch.
Setting up the Flutter environment
Before we started with Flutter to build mobile apps, we had to install, set up and configure some software on your local development machine. The choice of the system solely depends on your priority, and you can either use macOS, windows, or Linux to get started with the Flutter Mobile App Development.
To follow this tutorial any further, you will need to Download and install the following things:
- Flutter SDK
- Code Editor with Plugins
- Development Target Software
Flutter SDK
The official Flutter Documentation provides the most up-to-date instructions to download and install the Flutter SDK. When you open the documentation, you will see several options to select different operating systems, such as Windows, macOS, Linux etc.
You need to select your preferred system, and after that, it will be redirected to a page where you will be able to see system requirements, the Flutter SDK download option and a detailed guide to configure it in your local machine.
The first step is to download the Flutter SDK, unzip it, and you will see a Flutter folder inside of it. Make sure to move it to a suitable location, such as C:\src\flutter. Avoid installing flutter inside the directory such as C:\Program Files\, which requires special permissions.
Once you install and move the flutter folder to the suitable location, you need to double-click on the flutter_console.bat file from the flutter folder to open the flutter console.

Make sure to write the below command on the console to check the platform dependencies, and environment and display the Flutter installation status report.
flutter doctor

Always check the status report and output to understand which software or dependencies are missing or need to be installed.
After completing the installation, just run the below command to check the version to confirm the installation is done correctly.
flutter –-version

Code Editor with Plugins
After installing the Flutter SDK, you need to install the code editor for Flutter code writing and development. There are many options available in the market, such as:
- Android Studio
- Visual Studio Code
- Notepad++
- Vim
- IntelliJ IDEs
All editors from above work with Flutter Development, but we strongly recommend Visual Studio Code for your development as it is free and works on all major platforms. And we will be using Visual Studio Code for our further demonstration.
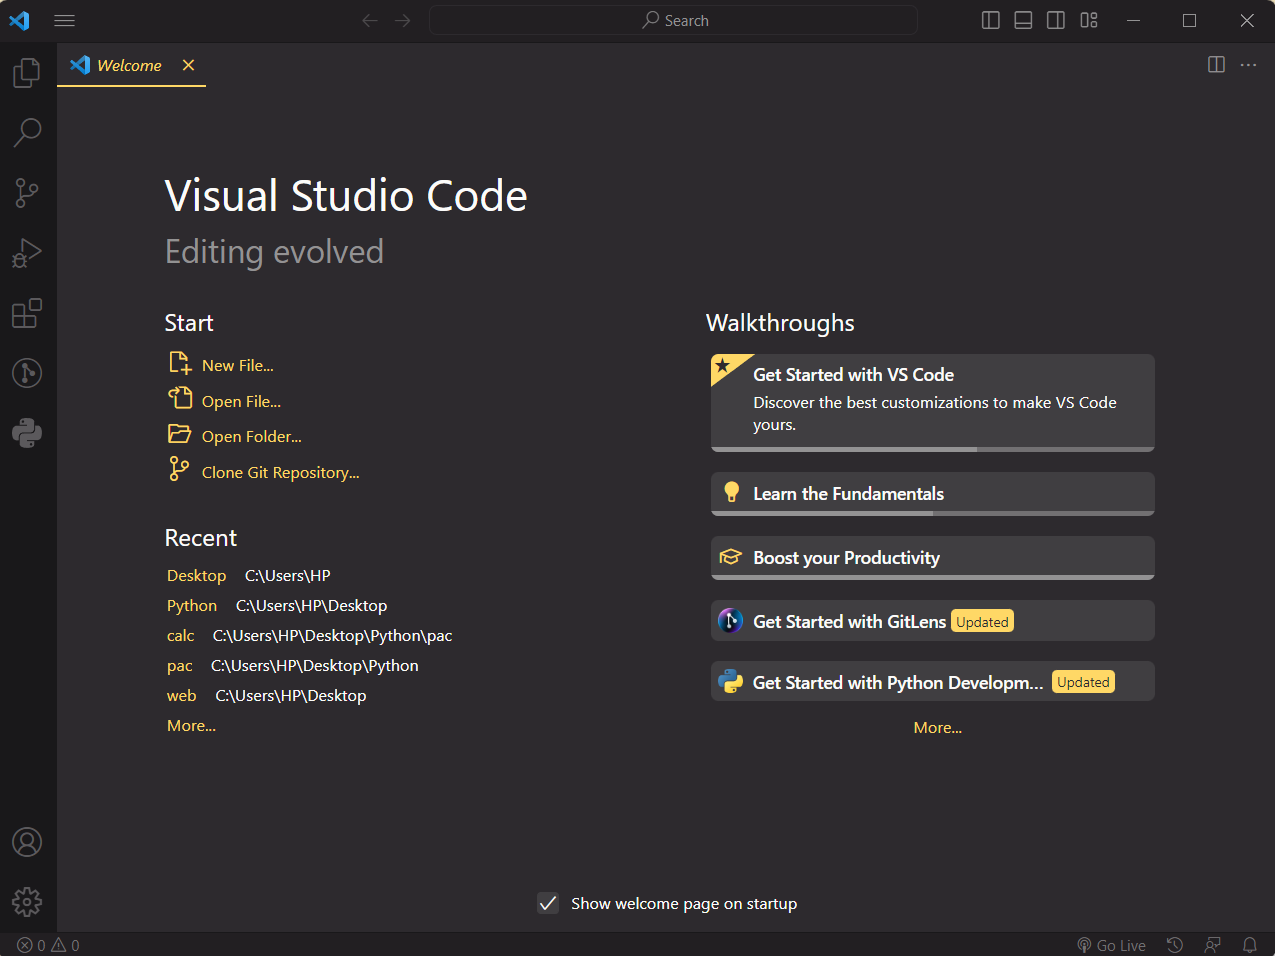
Download the VS code according to your system from the official source and install it on your local machine. Once you finish the installation, run the VS code, and the interface will look like the image below.
To start developing a flutter mobile app using VS code, install a flutter plugin inside VS code like the image below.

Development Target Software
Flutter is a toolkit that supports cross-platform development, and your mobile app can run on any of the following operating systems:
- Android
- iOS
- macOS
- Linux
- Web
However, selecting a single operating system for which you primarily develop your Flutter mobile app is recommended. Selecting a primary system is known as a development target, which refers to choosing the operating system your app will run on during development.
Let’s say you are using the Windows operating system to develop Flutter mobile app. If you choose Android as your development target, you need to connect your Android device to the Windows system using a USB cable. But you can also choose Windows as the development target to run your in-app development along with the editor.
Creating a New Flutter Project
Once you have installed the Flutter SDK and VS Code, you can start developing your first Flutter project. There are many ways to create a template app, such as using the command line, the VS Code command palette, etc. However, we will be using the VS Code command palette to create a new Flutter project.
Open the command palette (with Ctrl+Shift+P or F1 or Shift+Cmd+P), start typing “flutter new” and select the Flutter: New Project option.

Now select the application, and then the folder where you want to create your project. This can be your home directory or something like C:\src\ .

Now, make sure to name your project my_first_flutter_app or something like that.

Flutter Now create your project folder with the given name and open it in VS Code.

The main.dart file comes with some boilerplate code that shows us the simple code structure.
Understanding the Structure of a Flutter Project
Now that we have created our first Flutter app project, we need to understand the directory structure of the flutter mobile app in order to manage and organize the code effectively.

A flutter project consists of many directories, folders and files, but at the moment, we’re building our first app, so we don’t need to know about everything. Instead, we’ll focus on the most important ones:
- android: Used to contain the Android-specific code and resources.
- ios: Used to contain the iOS-specific code and resources.
- lib: includes the main.dart file where our app code lives
- test: contains the unit test cases for your app
- pubspec.yaml: A YAML file defines your project configurations and dependencies.
There are several other files that you will see inside the project structure, but you don’t need to worry about them for now because most of them are only useful when you start building your mobile Flutter app to support cross-platform support.
Files such as .gitignore, pubspec.yaml, README.md define the project configuration, dependencies and information.
Writing Actual Code
We’ve built our first Flutter mobile application that comes with a lot of folders and boilerplate. Now, we aim to write code to develop a unique login form with a flutter logo.
Note: Before we proceed with the actual code, I assume you know Dart language; if you don’t, then make sure to learn it first because, without Dart, we will not be able to write the code.
To start writing code, we first need to open the lib/main.dart file in our VS Code editor.
While starting the code writing, our utmost priority is to import necessary packages and define the main() function, which acts as the entry point of the Flutter application.
import ‘package:flutter/material.dart’;
void main() {
runApp(MyApp());
}
We are importing Material UI to give our apps Material Design and to access Material UI functionality and widgets. Then we define the main() function, which is basically used as the entry point to the Flutter application and runs the MyApp() class.
class MyApp extends StatelessWidget {

  @override

  Widget build(BuildContext context) {

    return MaterialApp(

      title: 'Unique Login Form',

      theme: ThemeData(

        primarySwatch: Colors.blue,

      ),

      home: LoginForm(),

    );

  }

}

Here we have defined the MyApp class as a stateless widget that represents the application's root and returns the MaterialApp widget to set the app title and theme. And it is used to set the current home route, which in our case is LoginForm().

class LoginForm extends StatefulWidget {

  @override

  _LoginFormState createState() => _LoginFormState();

}

Here, we define the LoginForm() class that represents a stateful widget to hold the form page and provide the state object _LoginFormState.

class _LoginFormState extends State<LoginForm>

    with SingleTickerProviderStateMixin {

  late AnimationController _animationController;

  late Animation<double> _animation;

  final GlobalKey<FormState> _formKey = GlobalKey<FormState>();

  final TextEditingController _emailController = TextEditingController();

  final TextEditingController _passwordController = TextEditingController();

Here we define the _LoginFormState class, which extends the State class. This _LoginFormState class acts as an animation controller.

Once you've defined all the classes and functions above, we come to writing the main code that manages the animation, design, and content, so below, we're adding several classes and functions to do just that.

  @override

  void initState() {

    super.initState();

    _animationController = AnimationController(

      duration: const Duration(seconds: 1),

      vsync: this,

    );

    _animation =

        CurvedAnimation(parent: _animationController, curve: Curves.easeInOut);

    _animationController.forward();

  }

  @override

  void dispose() {

    _animationController.dispose();

    _emailController.dispose();

    _passwordController.dispose();

    super.dispose();

  }

  void _login() {

    if (_formKey.currentState!.validate()) {

      // Perform login operations here

      String email = _emailController.text;

      String password = _passwordController.text;

      // Clear form fields

      _emailController.clear();

      _passwordController.clear();

      // Show a login success message

      showDialog(

        context: context,

        builder: (BuildContext context) {

          return AlertDialog(

            title: Text('Login Successful'),

            content: Text('Welcome, $email!'),

            actions: <Widget>[

              TextButton(

                child: Text('Close'),

                onPressed: () {

                  Navigator.of(context).pop();

                },

              ),

            ],

          );

        },

      );

    }

  }

  @override

  Widget build(BuildContext context) {

    return Scaffold(

      appBar: AppBar(

        title: Text('Unique Login Form'),

      ),

      body: Padding(

        padding: const EdgeInsets.all(16.0),

        child: Center(

          child: FadeTransition(

            opacity: _animation,

            child: Container(

              padding: const EdgeInsets.all(16.0),

              decoration: BoxDecoration(

                borderRadius: BorderRadius.circular(10.0),

                color: Colors.grey[200],

              ),

              child: Form(

                key: _formKey,

                child: Column(

                  mainAxisSize: MainAxisSize.min,

                  children: <Widget>[

                    FlutterLogo(

                      size: 100.0,

                      style: FlutterLogoStyle.stacked,

                    ),

                    SizedBox(height: 16.0),

                    TextFormField(

                      controller: _emailController,

                      decoration: InputDecoration(

                        labelText: 'Email',

                        prefixIcon: Icon(Icons.email),

                      ),

                      validator: (value) {

                        if (value!.isEmpty) {

                          return 'Please enter your email';

                        }

                        return null;

                      },

                    ),

                    SizedBox(height: 16.0),

                    TextFormField(

                      controller: _passwordController,

                      decoration: InputDecoration(

                        labelText: 'Password',

                        prefixIcon: Icon(Icons.lock),

                      ),

                      obscureText: true,

                      validator: (value) {

                        if (value!.isEmpty) {

                          return 'Please enter your password';

                        }

                        return null;

                      },

                    ),

                    SizedBox(height: 24.0),

                    ElevatedButton(

                      onPressed: _login,

                      child: Text('Login'),

                      style: ElevatedButton.styleFrom(

                        primary: Colors.blue,

                        shape: RoundedRectangleBorder(

                          borderRadius: BorderRadius.circular(30.0),

                        ),

                        padding: EdgeInsets.symmetric(

                          vertical: 16.0,

                          horizontal: 32.0,

                        ),

                      ),

                    ),

                  ],

                ),

              ),

            ),

          ),

        ),

      ),

    );

  }

}
The above code manages the styles and animations, checks for form validation, retrieves the entered values, and clears the input fields if the login is successful.
Once we have finished writing the code, we need to start debug mode to see the visual representation of the code. To do this, open the lib/main.dart file inside VS Code and press the F5 key on the keyboard, and it will directly start the local server and launch it to show you the visual representation.
When the local server starts successfully and launches the window, it will show us our first Flutter mobile application.

Here’s how our login form looks after our code is executed.
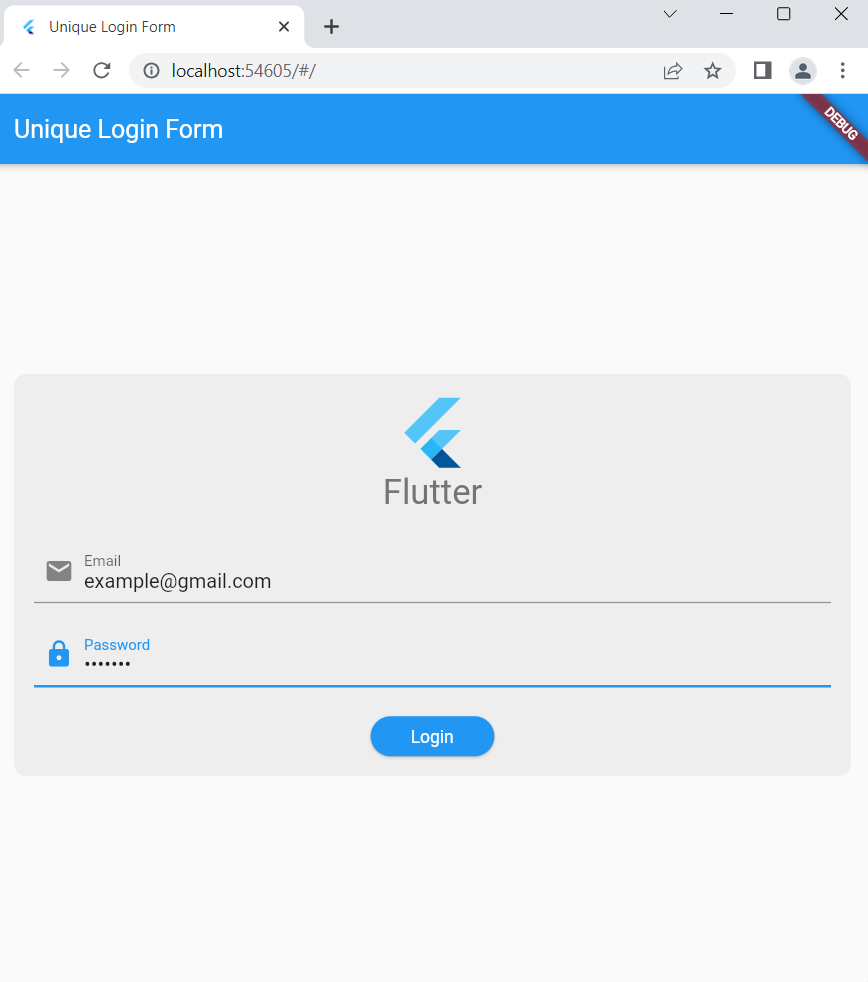
We need to enter our email and password inside the fields provided to log in to the application; When we press the login button, it will show a successful login prompt like the image below.

The above flutter application is a unique login form with captivating colors and animations. It provides an interface with email, password fields and a login button. When the user enters the required details and clicks on the login button, it will log the user into the application.
Conclusion
In this article, we’ve covered a step-by-step guide to building your first mobile application using Flutter. Flutter is Google’s SDK toolkit for mobile application development with cross-platform development support. It can be used to build iOS and Android mobile phone interfaces.
Above, we developed a login form from scratch using Flutter, so take the opportunity, and experiment with the code to change the animation, design, and colors.
Are you looking for a mobile app company for cutting-edge mobile application development with exceptional design and seamless experience? Look no further! We at Delphin Technologies provide mobile application services to bring your ideas to life in stunning visuals and unique application performance. Our team is experienced and skilled in creating performance-focused, visually appealing Flutter mobile applications.